

At The Print Shop, we’ve been helping local businesses look their best since 2002. Our team knows how to handle your files with care. Making sure your files are ready is key for top-notch prints.
Our team is here to guide you through the process. We know how crucial it is to get it right. We’re dedicated to giving you consistent, high-quality prints. Call us at 435-723-4200 or email design@tpsbc.com for design questions.
Key Takeaways
- Understand the importance of file preparation for professional printing
- Learn the best practices for preparing your files
- Discover how to ensure high-quality prints
- Find out how to contact us for design inquiries
- Visit us at 46 S Main St Brigham City UT 84302, Monday to Friday, 9 AM to 5 PM
Understanding the Professional Printing Process
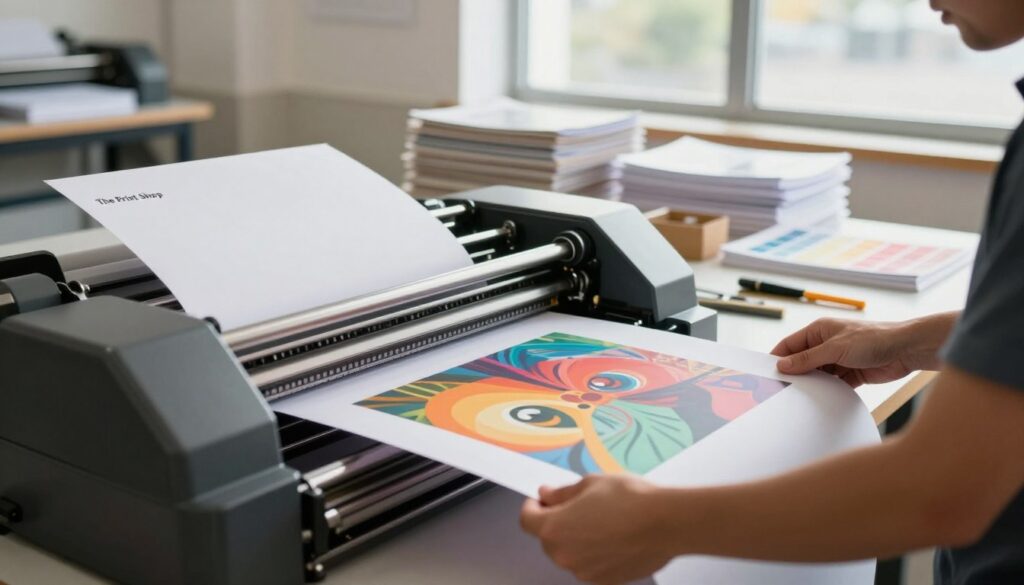
To get the best results from professional printing, it’s key to know the process. At The Print Shop, we help you through every step. This ensures your files are ready for top-notch printing.
The Difference Between Digital and Commercial Printing
Digital printing is great for short runs and changing data, offering fast service. Commercial printing is best for big orders, giving quality at a good price. Knowing which one fits your project is important.
Why Proper File Preparation Matters
Getting your files right is crucial for the best print results. It makes sure your files work with our equipment, avoiding mistakes and delays. Proper preparation saves you from expensive reprints and keeps your project looking sharp.
Common Printing Terminology You Should Know
Knowing common printing terms helps you talk clearly with your print provider. Words like “bleed,” “trim,” and “DPI” are key to getting your files right. We’re here to make sure you’re comfortable with the terms and needs for your project.
Essential File Formats for Professional Printing
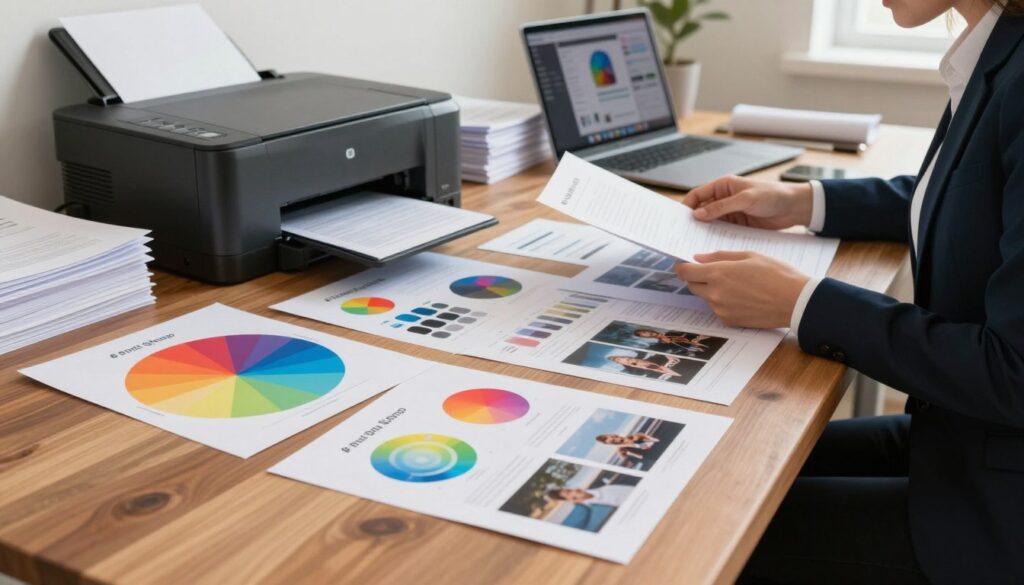
To get the best results in professional printing, knowing the right file formats is key. We’ll show you the top file formats for printing. This will help you make smart choices for your print projects.
Vector vs. Raster Files: When to Use Each
It’s important to know the difference between vector and raster files. Vector files, like those from Adobe Illustrator, are made of paths. They’re perfect for logos, text, and graphics that stay sharp when scaled. On the other hand, raster files, such as photos, are pixel-based. They’re best for images.
Recommended File Types: PDF, AI, EPS, TIFF
For top-notch printing, use specific file formats. These include:
- PDF (Portable Document Format) for its wide compatibility.
- AI (Adobe Illustrator) for vector graphics.
- EPS (Encapsulated PostScript) for scaling without losing quality.
- TIFF (Tagged Image File Format) for high-quality raster images.
File Formats to Avoid for Print Projects
Not all file formats are good for professional printing. Formats like JPEG, GIF, and PNG are better for the web. They might not have the quality needed for print. It’s wise to steer clear of these for important print jobs.
The Print Shop's Preferred File Formats
At our print shop, we love getting files in PDF format. PDFs are reliable and consistent. They ensure your file prints exactly as you want, with the right colors and layout.
| File Format | Type | Best Use |
|---|---|---|
| Versatile | Most print projects | |
| AI | Vector | Logos, illustrations |
| EPS | Vector | Scalable graphics |
| TIFF | Raster | High-resolution images |
Using the right file formats ensures your print projects look their best. If you’re not sure about the best format for your project, we’re here to guide you.
Setting Up the Correct Resolution for Print-Ready Files
When getting your files ready for professional printing, the right resolution is key. The quality of your prints depends a lot on this. Knowing how to set it up right is very important.
Understanding DPI and PPI Requirements
DPI and PPI are often confused, but they mean different things in printing. DPI is about the printer’s output, while PPI is about the image’s resolution. For top-notch prints, knowing the PPI needed for your project is crucial. Usually, 300 PPI is the go-to for most print jobs.
Recommended Resolution for Different Print Products
Each print product has its own resolution needs. For example:
- Business cards and brochures: 300 PPI
- Banners and large-format prints: 100-150 PPI
- Postcards and flyers: 300 PPI
Knowing these needs ensures your prints look great.
How to Check and Adjust Your File's Resolution
To see your file’s resolution, use software like Adobe Photoshop. Go to “Image” > “Image Size” to check and tweak it. For more help, check out our detailed guide on preparing print-ready files.
Resolution Troubleshooting Tips
Having trouble with your print file’s resolution? Here are some tips:
- Look for pixelation or blurriness in your images.
- Make sure your images aren’t too compressed.
- Check that your file is in the right color mode (CMYK).
By using these tips, you can fix common resolution problems and get high-quality prints.
Color Modes and Profiles for Professional Printing
Understanding color modes and profiles is key for top-notch printing. Color accuracy is crucial for professional prints, affecting their quality and look. We’ll cover the basics of color management to help your print projects shine.
CMYK vs. RGB: Why Color Mode Matters for Print
Choosing between CMYK and RGB color modes greatly impacts your print. CMYK (Cyan, Magenta, Yellow, Black) is for printing, using the four ink colors. On the other hand, RGB (Red, Green, Blue) is for digital screens. RGB for print can cause color issues, so convert to CMYK for accurate colors.
Working with Pantone and Spot Colors
Pantone and spot colors help match colors precisely in your design. Pantone colors are standardized, ensuring color consistency. Spot colors are great for branding, where exact color is key. Always specify Pantone or spot colors in your files and tell your print provider.
Color Profile Settings and ICC Profiles
Color profiles, like ICC (International Color Consortium) profiles, are vital for color accuracy. An ICC profile tells devices how to show colors. Use the right ICC profile in your files for consistent color from design to print.
Ensuring Color Accuracy Across Devices
To keep colors consistent, manage settings across all devices in your project. Calibrate your monitor and make sure everyone uses the same color profiles. We follow industry standards to ensure your prints look their best.
How to Prepare Files for Printing with Proper Bleed and Margins
Getting your files ready for printing is crucial for top-notch results. It all begins with understanding bleed and margins. Knowing these elements is key to making sure your final product looks just right.
Understanding Bleed, Trim, and Safe Areas
Bleed is the extra space around your design that gets cut off during printing. The trim area is the final size of your printed piece. The safe area is where you should place your important content to avoid being cut off. Make sure your design goes into the bleed area to avoid white edges.
Setting Up Document Margins Correctly
Margins are the spaces between your content and the page edges. The right margins keep your design safe from being cut off. Always follow the printer’s guidelines for setting your margins.
Creating Crop Marks and Registration Marks
Crop marks show where to trim the paper, and registration marks help line up different print layers. Adding these marks to your file makes printing smoother and more accurate.
Checking for Elements Too Close to the Edge
It’s vital to check your design for elements near the edge. Move important content away from the edges to avoid trimming issues. Always review your file before sending it in.
By following these steps for bleed, margins, and more, you can ensure your prints are of the highest quality. At The Print Shop, we’re here to help you get professional results that meet your expectations.
Typography and Font Considerations for Print Projects
In print projects, choosing fonts is more than picking a style. It’s about creating a look that speaks to your audience. Good typography makes your printed stuff easy to read and look great, which is key for professional printing.
Embedding Fonts in Your Print Files
Embedding fonts in your files keeps your typography consistent during printing. It’s best to embed fonts to prevent any changes in your text’s look. Most design tools, like Adobe Illustrator and InDesign, let you embed fonts right in your files.
Converting Text to Outlines/Paths
Turning text into outlines or paths is another way to keep your fonts intact. This method changes text into shapes, so you don’t need the original font files for printing. It’s great for fancy or complex fonts that might not work with the print shop.
Minimum Font Size for Readability
The smallest font size that’s easy to read depends on the material. For regular text, 6-8 points is the minimum. But for headings and titles, bigger fonts are better to make them stand out.
Avoiding Common Font Issues in Print
To steer clear of font problems, double-check your work. Make sure fonts are the same, not corrupted, and right for printing. Also, watch out for font licensing rules that might limit how you use them in commercial printing.
By focusing on typography and font choices, you can greatly improve your print projects. Whether it’s business cards, brochures, or posters, good typography makes your materials pop and get your message across.
Image Preparation for High-Quality Printing
To get the best results in professional printing, it’s key to know how to prepare your images right. High-quality images are crucial for making your print project pop.
Proper Image Resolution for Print
It’s vital to make sure your images have the right resolution for high-quality printing. A minimum of 300 DPI is usually needed for most print projects. We can help you check and adjust your image’s resolution to meet the required standards.
Handling Transparency and Layers
When working with images that have transparency or multiple layers, it’s important to handle them right to avoid any printing issues. We recommend flattening layers and saving files in a format that supports transparency, like TIFF or PSD.
Image Compression: When and How to Use It
Image compression can help make your files smaller, making it easier to share and store your print-ready files. But, it’s important to use compression wisely to avoid losing image quality. We suggest using lossless compression methods whenever possible.
Checking for Image Quality Issues
Before sending your files for printing, it’s crucial to check for any image quality issues. Look for pixelation, artifacts, or incorrect color profiles. We can help you review your images to ensure they meet our printing standards.
By following these guidelines, you can make sure your images are ready for high-quality printing. This will result in a professional finish that meets your expectations.
How to Prepare Files for Printing: Step-by-Step Guide
Preparing your files for printing is easier than you think. Our guide will walk you through each important step. Making sure your files are ready for professional printing takes focus and detail for the best results.
Creating Print-Ready PDFs with Proper Settings
First, you need to make print-ready PDFs with the right settings. This means setting the resolution, color mode, and bleed correctly. Adobe Acrobat is the best tool for creating and editing your PDFs.
Flattening Transparency and Layers
Flattening transparency and layers is key. It makes sure your design elements are combined right, avoiding printing errors.
Embedding Fonts and Images
Embedding fonts and images in your PDF keeps them with the file. This prevents missing or wrong elements. It’s vital for keeping your design intact.
PDF/X Standards for Print Production
PDF/X standards are important for print production. They make sure your PDFs work with commercial printing equipment.
Exporting from Adobe Creative Suite Applications
Adobe Creative Suite apps like InDesign, Illustrator, or Photoshop let you export as PDFs. Choose the PDF/X standard and adjust settings as needed.
Exporting from Other Design Software
If you use other design software, check if it can export PDFs. If not, you might need a third-party tool. Make sure the PDF meets the PDF/X standards for printing.
By following these steps, you can prepare your files for printing confidently. Our guide is here to help you get high-quality prints that meet your expectations.
Quality Checking Your Files Before Submission
Before you send your files for printing, make sure to check their quality. This step is key to getting high-quality prints and avoiding costly mistakes. We suggest a detailed quality check process. This includes using preflight tools, avoiding common errors, reviewing digital proofs, and a final checklist.
Using Preflight Tools to Identify Issues
Preflight tools help analyze your print files for potential problems. They check for issues like wrong color modes, low-resolution images, and missing fonts. By using these tools, you can spot and fix errors before printing, making the process smoother.
Common File Preparation Mistakes to Avoid
Some common mistakes include wrong bleed settings, low resolution, and incorrect color mode. To avoid these, check our design tips for preparing files for print quality.
Creating and Reviewing Digital Proofs
Digital proofs are essential in the printing process. They show you what your final print will look like, allowing you to check and approve it before printing. Always carefully check digital proofs for any mistakes or issues.
Final Checklist Before Sending to Print
To make sure your files are ready for printing, use this checklist:
| Check | Description | Status |
|---|---|---|
| File Format | PDF, AI, EPS, or TIFF | |
| Resolution | At least 300 DPI | |
| Color Mode | CMYK | |
| Bleed and Margins | Correctly set |
By following these steps and using the checklist, you can ensure your files are of the highest quality. They will be ready for professional printing.
Working with The Print Shop for Optimal Results
At The Print Shop, we know that getting the best results for your prints takes teamwork. We aim to give you top-notch prints that fit your needs. We’ll help you every step of the way to make sure you’re happy.
Submitting Your Files to The Print Shop
To start, just send your files to us online or talk to our team. We take PDF, AI, EPS, and TIFF files. Our team checks your files to make sure they’re ready for printing.
Communication Tips for Print Projects
Good communication is crucial for a successful print project. Please give us clear instructions and details about your project. We’re here to answer your questions and solve any problems.
Understanding Proofing and Approval Process
After we get your files, we’ll make a digital proof for you to check and approve. This step makes sure your project is just right. We’ll work with you to fix anything before we print.
Getting Design Assistance at The Print Shop
If you need help designing your project, our team is ready to help. We offer:
- Custom design solutions tailored to your needs
- Expert advice on color, typography, and layout
You can call us at 435-723-4200 or email design@tpsbc.com.
Design Services Available at 435-723-4200
Our design team is here to help you create a print project that meets your goals.
Contacting The Print Shop's Design Team at design@tpsbc.com
Feel free to email us for design questions or to get a custom quote for your project.
Conclusion: Ensuring Print Success with Properly Prepared Files
Getting your files ready right is key for top-notch prints. By following our tips and teaming up with The Print Shop, you’re set for success. You’ll get prints that look amazing.
We’ve shown you how to get your files ready for printing. This includes knowing the printing process and setting up the right resolution and color modes. These steps are crucial for quality prints.
The Print Shop is all about helping you reach your printing dreams. Our team is ready to assist you from start to finish. Together, we make sure your prints are a hit.
Investing in well-prepared files means your final product will shine. If you have questions or need help, just let us know. We’re here to help you succeed with your prints.